

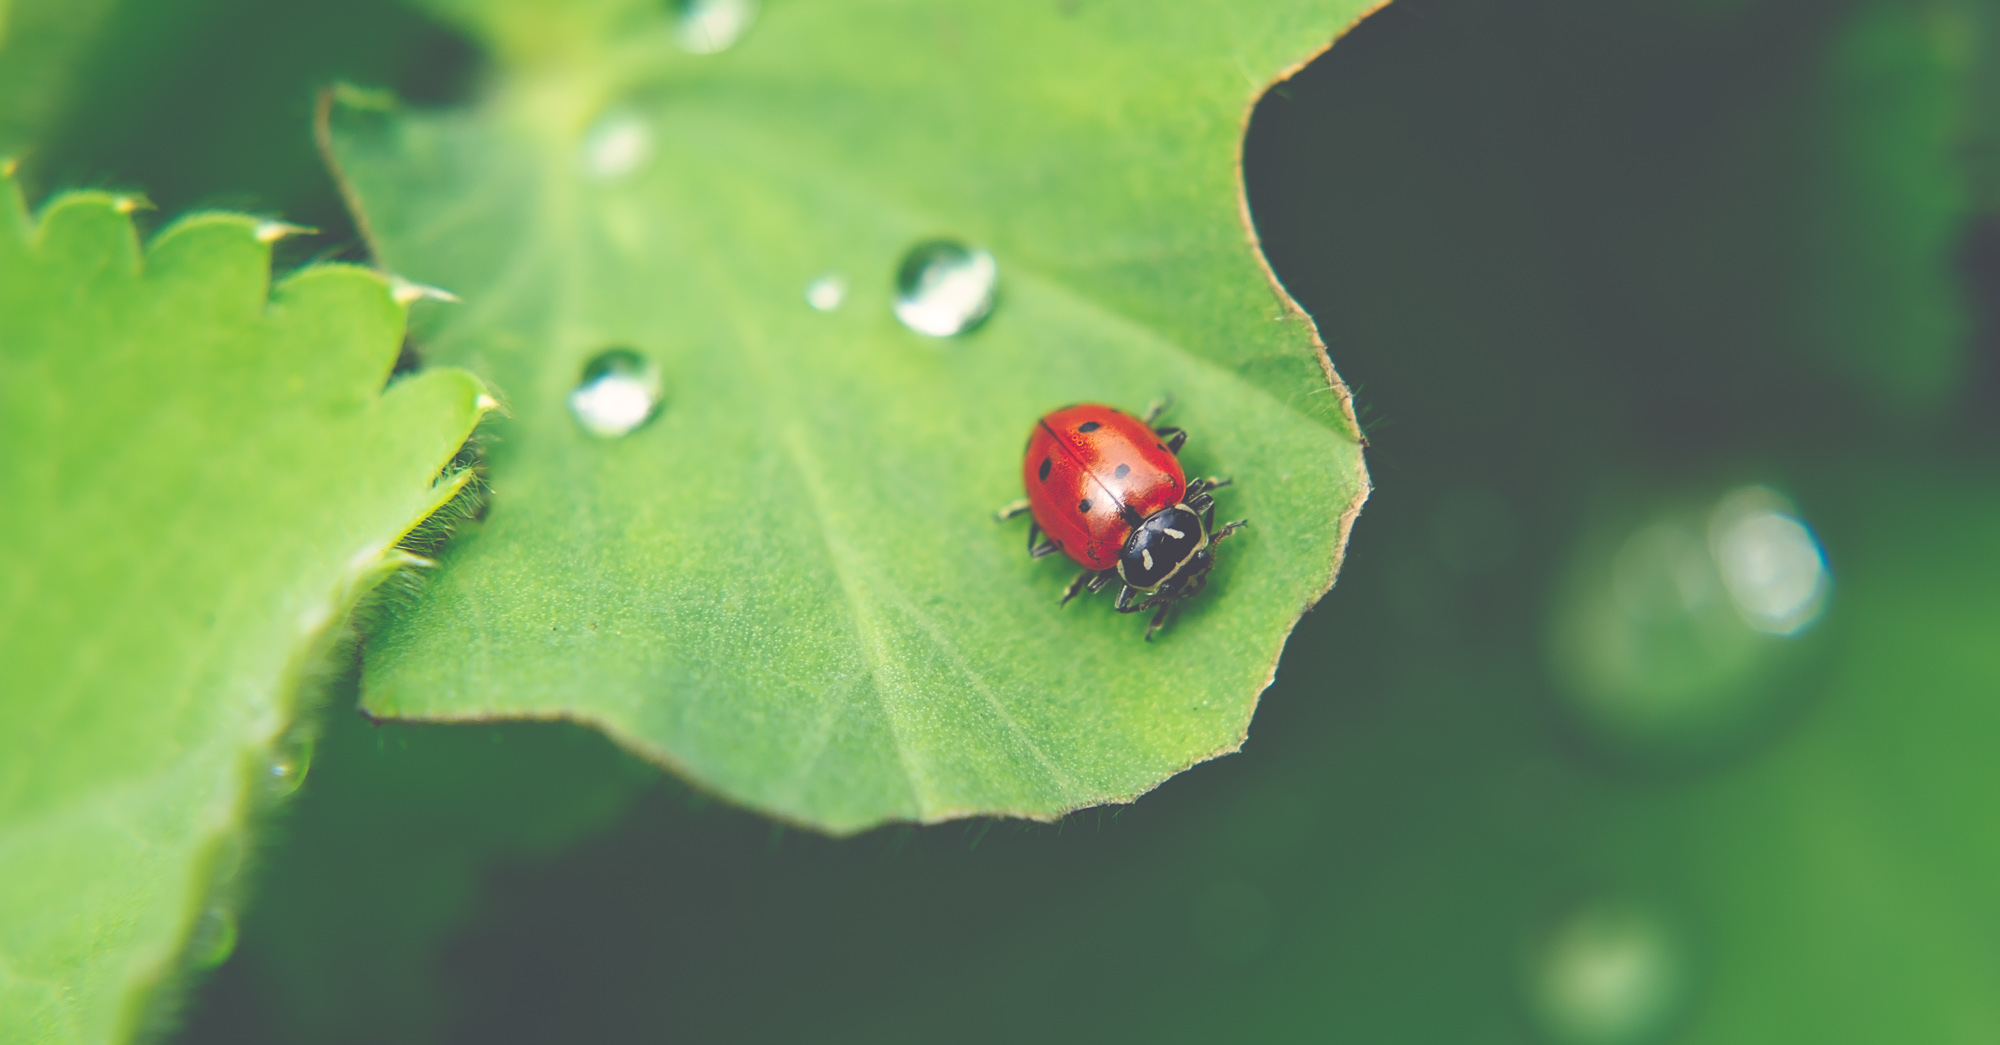
Macro photography is, by far, my favorite type of photography. I love getting close to the things that generally people walk by without noticing. Nature provides endless opportunities to capture that perfect macro moment.
I get asked often how to start doing macro photography. Photography is not a subject you want to ask me about. It is my passion, and I can take up hours of your time discussing it. Hours I would rather be in nature doing macro photography. Therefore, I decided to take a moment to write down my tips for macro photography.
Please note any camera equipment that highlighted goes to Amazon. I’m an affiliate for Amazon, and I buy most of my camera equipment from them. If you purchase that item from my link, I get a commission fee. That is how I make money so that I can continue writing these tips, and all purchases are much appreciated. I will always reference the items that I use and believe in unless otherwise noted.
These are my tips for learning Macro Photography.
Patience. If you don’t already possess this trait, you will soon. Patience is a requirement in any photography, but a must for nature photography. I have sat for hours watching through my camera, waiting for an insect to land on a flower. Before you purchase anything, I would make sure you have patience.
Macro Lens. Each lens you purchase does certain things. Therefore, the lens that came with your camera most likely will not work for macro photography.
You need a macro lens. The macro lens, unlike other lenses, allows you to get very close to your subject while maintaining the ability to focus on the subject. I have a Nikon camera, and the two lenses I use are Tamron AF 180mm F3.5 and Tamron 90mm with Nikon mount. If you use a Canon, you will need the Tamron AF 180mm and Tamron 90mm for the Canon mount.
Personally, every lens I own is a Nikon lens except for my two macro lenses. I will someday purchase the Nikon Micro Nikon AF-S VR Micro-NIKKOR 105mm f/2.8G IF-ED Lens because I want to see the difference between the two. However, I feel like I get very sharp, amazing photographs from both my Tamron macro lenses.
Macro Filters. As close as I am with my two Macro lenses, sometimes I want to get closer. That’s when I pull out my Hoya Macro Filter set. I use the Hoya 55mm HMC Close-Up Filter for my 90mm lens and the Hoya 72mm HMC Close-Up Filter for my Tamron 180mm lens. When it comes to any filter, I always use Hoya and Tiffen. I’m sure there are many other great ones, but these are the only ones I’ve ever used. You screw the filter onto the end of your lens and find your sweet spot.
Extension Tubes. A much cheaper alternative to purchasing a macro lens is using extension tubes. They fit at the back between your lens and camera and allows you to get closer to your subject.
For me, sometimes, the macro lens and the macro filters are still not as close as I want to get. No problem, I throw on my Nikon extension tubes. I bought my extension tubes at Adorama. However, you can click on any Amazon link and put in the make and model of your camera with the words, extension tubes, and you will find many brands and reviews on what is best for you.

ISO 400 180mm F/11 1/250 Sec
Practice Aperture, ISO & Shutter Speed. See that dial that says M? That’s your manual mode. A is your Aperture mode. These are the two that I use most often. If you want to get good at Macro Photography, you need to practice in Manual Mode.
Tripod. A good tripod is essential and should match the size and weight of your camera and lens. I learned the hard way how necessary a good tripod could be when I watched my Nikon D3S camera body and brand-new Tamron 180mm lens tumble to the ground. The next day I bought Giotto’s YTL Professional Carbon tripod. I also own a Manfrotto Monopod. Both makers offer great quality tripods, but always check your reviews before purchasing. Tripods are a must if you are trying to get a good depth of field on flowers or other stationary objects.
Shoot Anytime. For most photographers, the critical time to take pictures is the hour before sunset and the hour after sunrise. While this is true for many areas of photography, you can benefit from mid-day lighting, especially when shooting insects.

Keep a journal. While I took some courses in my day to learn photography, I have learned the most by going out and doing it myself. I can’t count the hours I’ve spent practicing my skills. In my journal, I would record the following items: Date, time, weather, Camera Settings (ISO, Shutter Speed, Aperture), Distance to Subject, any special equipment used.
Practice. Practice makes perfect, right? I came from the film days where you could not afford to practice taking pictures. However, now we are in the digital age, and you have no excuse not to practice. Even when I have no time at all, I spend a minimum of thirty minutes a day taking pictures. The more you practice, the better you will get.
Be creative. While I have probably taken pictures of flowers in every position and composition imaginable, there is so much more I can still find. The more you do it, the more creative you will come. If you are shooting a flower, try capturing it at different angles. Flowers and insects are not the only things you can photograph in Macro. Food, body parts, weather elements, abstract designs, etc. There is no end.
If you genuinely have a passion for photography, you will gain much enjoyment in learning macro photography.
Just keep practicing and working your craft.
If you are interested in viewing more of my macro work follow me on Instagram @pamelamariephoto
Peace & Love,
Ela


Leave a Reply
Your email is safe with us.